Rainy Day Chicken Pot Pie

One of my favorite childhood meals was chicken pot pie; Marie Calendars frozen ones were such a treat after school. So comforting and delicious, and in a pie crust – yum. I have always loved them but never really thought to make one, Im not sure why. This was one of the easiest things Ive ever made!

I chose to stick to pre-made pie crust, since it was my first time and I wasn’t about to be stressing over making dough.. I bought a frozen pie shell, and a pack of refrigerated pie crust for the top. Easy peasy.
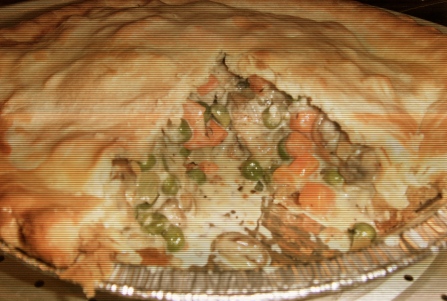
Image(wtf happened to my camera here?)

Pie Filling

1 small white onion, diced
2 cloves garlic, chopped small
1 pack pre-sliced crimini mushrooms
1 large boneless/skinless chicken breast
1 bag frozen peas and corn mix
3 teaspoons corn starch
3/4 cup chicken stock
1/3 cup heavy whipping cream
1 teaspoon thyme
1 teaspoon oregano
1 egg, whisked (set aside)

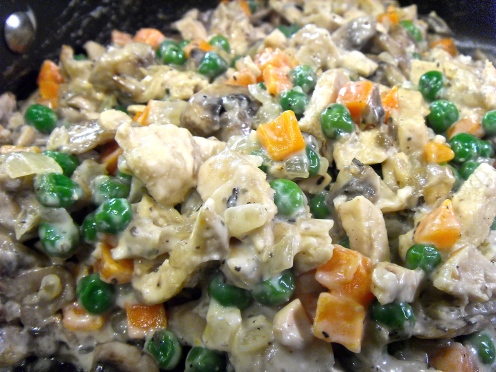
I used a pre-cooked chicken breast I had in the refrigerator from the other night. I tend to cook a pack and use them throughout the week for salads, in meals, whatever. But if you don’t have one already cooked, season your chicken and cook it thoroughly. Let it cool and then shred it, or dice into small cubes and add it back to the skillet.

Turn heat on medium-high, add a little oil and the chopped onion. Let them cook for about 2min together, add mushrooms and cook for 4 more min then add garlic.

**Preheat oven to 395° and take pie crust out of the freezer**

While that is simmering, mix together corn starch and 3 tablespoons of the chicken stock. Add remaining stock and the carrots/peas to the pan and bring to a boil, let it cook for about 3min then add the corn starch mixture and cream. Stir well, letting it thicken to desired consistency and then remove from heat. While you’re letting the filling cool, take your refrigerated pie topping out of the fridge and unroll.

Image

Image

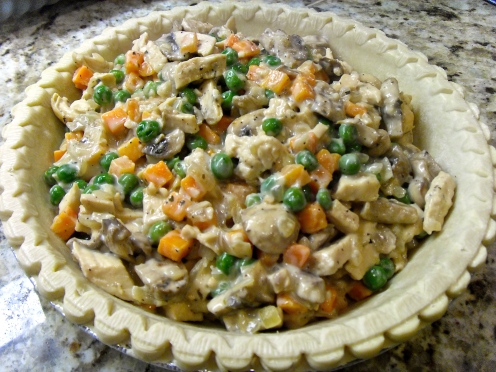
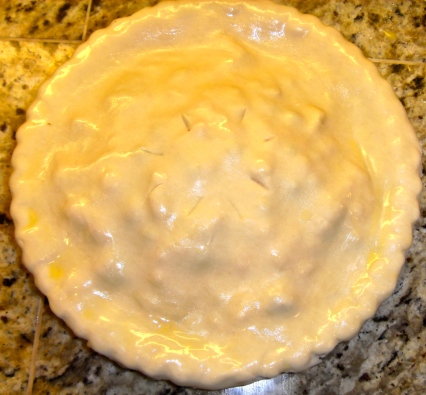
After the filling has cooled somewhat, and the oven is heated, fill your pie shell. It is ok if it is heaping, you just dont want it overflowing. Top with rolled out pie topping and pinch sides together.

Image

In a small bowl, beat the egg and use it to “paint” the outside of your pie. This will help give your pie a golden and crispy crust!
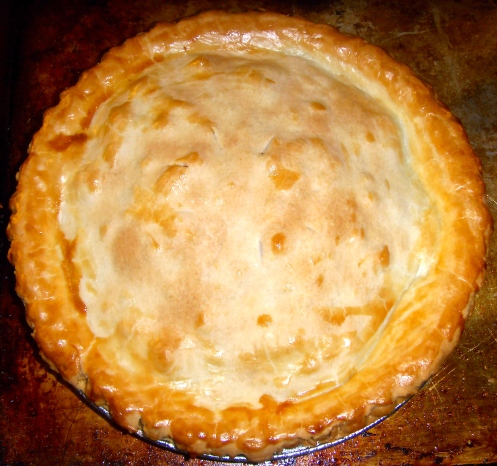
Bake in the preheated oven, for about 20 to 25 minutes, until golden. Serve hot.

Image

Image

This turned out sooooooo delicious! I cant believe I never tried making it before! Our little family of 3 basically demolished the whole pie tonight. There is only one piece left! Yummmmyyyy! I think I’ll make it without chicken next time. I always find myself picking the pieces out after a while, for whatever reason. I will definitely be making this again. Mmmm!

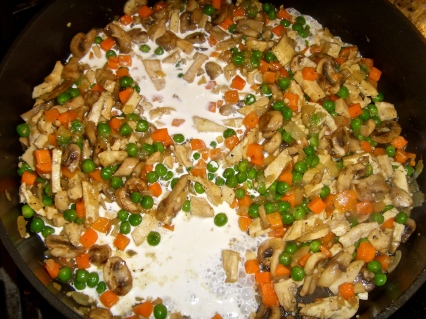
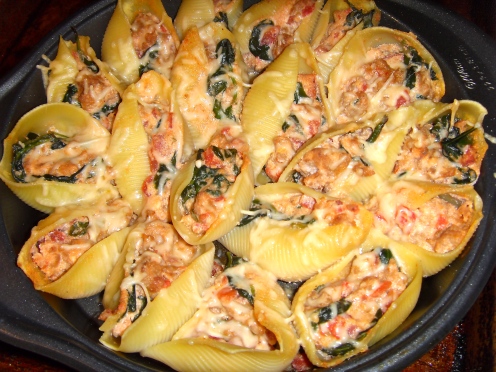
Jumbo Shells Stuffed With Italian Sausage

I am not much of a red sauce fan, so I tend to steer clear of lasagnas and things of that nature. I ran across a similar recipe to this a while back and decided to try and make it my own.


Image


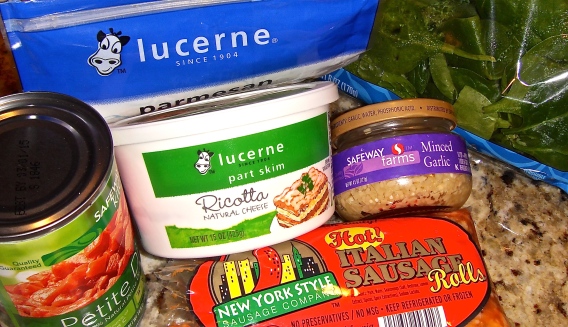
Pasta Filling

1 12oz box jumbo pasta shells
1 pound spicy Italian Sausage
1 tablespoon minced garlic
1 14oz can diced tomatoes
1 cup Spinach, frozen or fresh
1/2 cup ricotta cheese
1/2 cup shredded parmesan cheese
salt and pepper to taste
1 teaspoon onion powder
1 teaspoon dried oregano 


Image
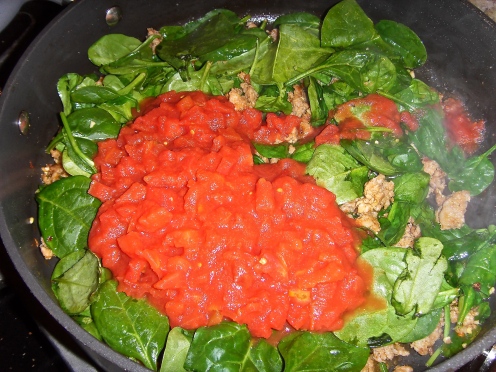
In a big enough pot, boil water with a few dashes of salt, add shells and cook per package instructions. When done, place into a bowl of ice water to stop the cooking, you dont want mushy noodles. In a skillet, heat 1 tablespoon of EVOO until glassy, add sausage and break up with a wooden spoon. The best trick I ever discovered to helping break up the meat, use a potato masher! After the meat has cooked until somewhat brown, use the potato masher to break up the pieces smaller – it works so well!

Add garlic and cook for about 2min, then add the spinach and chopped tomatoes. Cook on medium heat, stirring every so often to help wilt the spinach.


Image


Once the spinach is wilted, you can turn the heat off and remove skillet from the stove. Add ricotta, salt, pepper, onion powder, and oregano and stir well so that everything is incorporated. 

Pre-heat your oven to 350°

Prepare yourself to be patient. Filling these little buggers is a little time consuming, and annoying as they dont all open up very easily.
Open each shell gently, they’ll be slippery and annoying, but once you get in a groove it’ll get easier. Using a soup spoon, spoon in the filling and arrange in round pie pan or shallow casserole dish. Putting them in the pan with the “end” of the shell “up” will make so they dont fall over and get everywhere.

Once they’re all in the pan, cover with cheese and bake for 30min!

Deeeelish!!

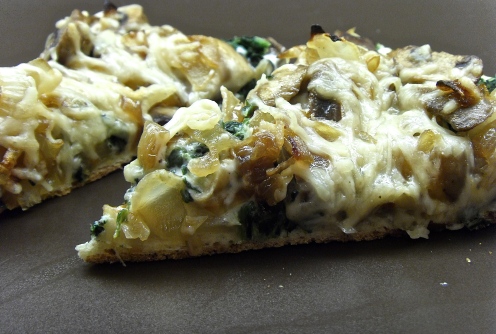
Vegetarian Caramelized Onion Mushroom and Spinach Flatbread

I try not to make the same things over and over again, but there are some things that my family loves. I can’t keep writing the same recipes so I try to mix it up lol But tonight I made another flatbread pizza, my daughter loves them. Tonight I was tired and didn’t feel like making homemade dough, so I bought a whole wheat pre-made pizza crust at Sprouts (grocery store). I promise there will be more adventurous recipes this week 😉


Image


Pizza Toppings
2 Small Yellow Onions, sliced thin
1 package pre-chopped crimini mushrooms
1 pack frozen spinach, water squeezed out and dried
2 tablespoons EVOO
1/2 cup grated parmesan cheese

Pizza Sauce
1/2 cup milk
4oz Cream Cheese
1 tablespoon butter
2 cloves garlic, minced
salt & pepper to taste
1 pinch dried thyme


You’ll want to start about an hour and a half before you really want to eat dinner. To truly caramelize onions, you need about 45min and some patience. Caramelizing onions is just about the most boring thing ever, seriously. Especially if you have no patience, like me! lol

After slicing your onions, heat 2 tablespoons of oil in a pan, add the onions and coat evenly. Cook on medium-low for about 45min, stirring about every 3min.

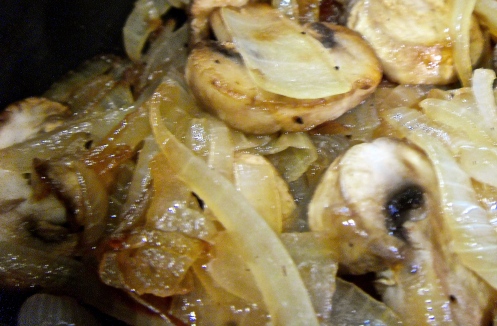
When the onions have become nice and soft, and a golden brown color, they’re done. Take them out and put them in a bowl. Add the mushrooms to the pan, there should be a little oil left over from the onions, but if there isn’t add a little. Salt and pepper to taste, cooking mushrooms on medium heat until they’re brown – about 10min. Add onions back to the pan and mix well.

Image

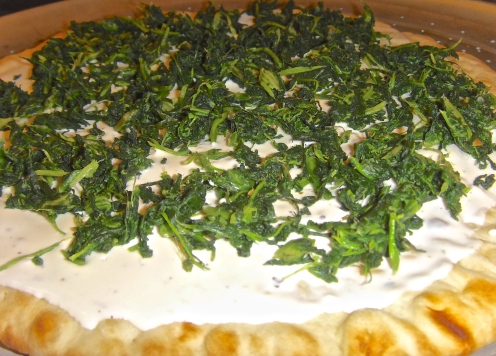
To make the sauce, add butter to a small pot and melt, add the garlic and cook for about 5min. Add milk and cream cheese and let it all melt. Use a whisk to help break up the cream cheese and mix everything together. Add salt, pepper, and crushed thyme. After about 5min it should be to the consistency you want it, remember it’ll thicken when it stands.

Using a big spoon, or ladle, spread around your pizza dough and top with spinach.

Image


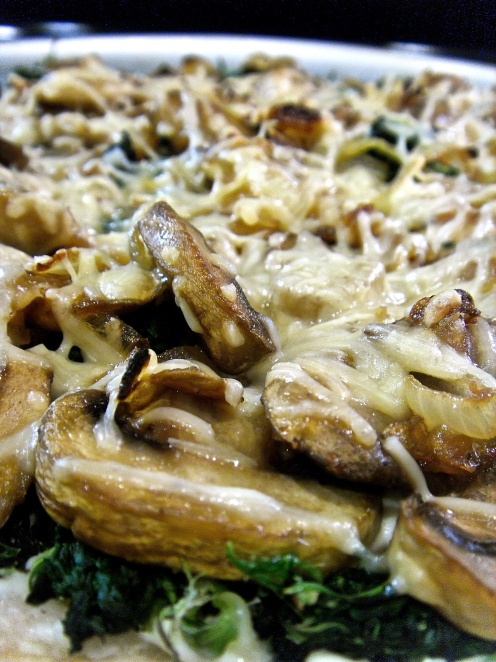
After you’ve crumbled the spinach on top, you can spoon the mushrooms and onions on top of your pre-made pizza crust, then sprinkle with cheese. I put this directly on the center rack of a 425° oven for about 12min. Let it cool for about 5min, and sliced it up!


Image

Chicken Mushroom and Spinach Risotto with Black Truffle

I could literally live on risotto… I mean, really. I dont think its all that bad for you either! That is, if you dont load it with cheese and butter. But honestly, if you’re cooking your risotto correctly, you shouldnt have to add any cheese at all. It will come together perfectly, and have the taste and texture of being full of cheese. This recipe is not for someone with no patience, you need to give yourself about an hour to stand at the stove. Seriously, but its soooo worth it!

Risotto “stuff”

1 chicken breast, seasoned, cooked and cubed
1 package of fresh mushrooms, sliced
1 large handful of baby spinach
3 garlic cloves, minced
1 small onion, diced
salt and pepper to taste
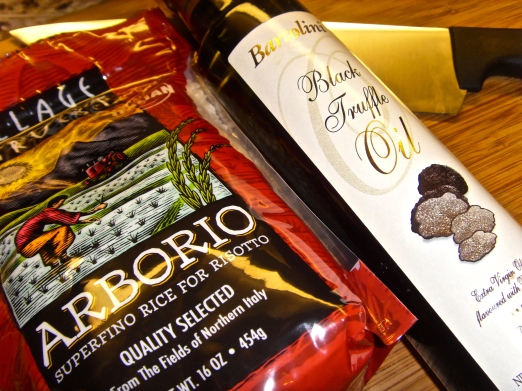
2 tablespoons Black Truffle oil!

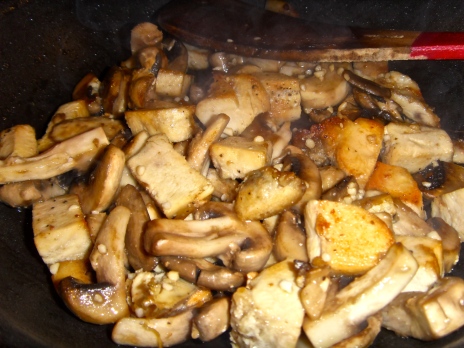
Heat truffle oil in a medium skillet. Add chicken and brown, add mushrooms and brown, and add garlic at the end so it doesn’t burn – just so it gets slightly golden. Set this aside until the risotto is ready. Don’t add any spinach until the end of everything!

Image

Risotto

1 1/2 cups Arborio Rice
5 cups chicken stock
3 tablespoons butter

In a small pot heat chicken stock to boiling then reduce to low. In a larger pot add butter and let it melt on medium. Add the onion and coat well with butter, let it cook until somewhat soft, about one minute. Add all of the rice and mix well with butter and onion.

Add one ladle of chicken stock at a time, stirring continuously with a wooden spoon, until ALL of the liquid has absorbed. Continue this until you have used all of the stock, should be anywhere around 30-40min depending on your stove and how patient you are.

As the time goes on, the risotto will get creamier and creamier. Sooner or later it’ll be extra thick and look like it has a lot of cheese in it, but it doesn’t! After you’ve used all of the stock, and the risotto is at a consistency you like, add the handful of spinach and mix until wilted, then add the mushrooms, chicken, and garlic from the other pan. Serve immediately.

This portion fed all 3 of us in my family, cereal bowls, almost full. If eating alone like this, you may need to up your recipe for more people.


Rotisserie Roasted Chicken and veggies

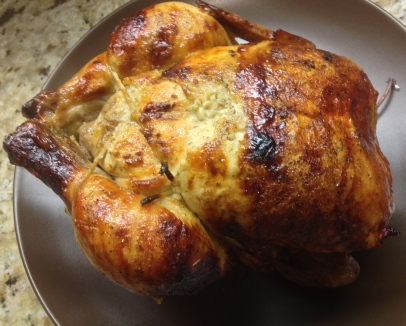
For Christmas last year (2012) my Nana got me a rotisserie and a stand up mixer, best gifts ever! With everything thats happened lately, I haven’t had a chance ti use either of them… Since my fiancé and I are getting married in 10mos, omg!, I thought it was time to get back to eating healthier and working out on a regular basis. So tonight I broke out the new Showtime Rotisserie my Nana got me for christmas! Boy oh boyyyyy was it delicious!

Image

Rotisserie Chicken

1 5lb (mine was about 4.7lbs whatever)
4 cloves garlic minced very small
1 tablespoon salt separated
1 tablespoon pepper separated
1 tablespoon garlic powder separated
1 tablespoon onion powder separated
1 teaspoon thyme separated
1/2 stick of butter

Make sure your chicken is completely thawed, and take all of the “leftovers” out from inside, and rinse your chicken off. Trim off any pieces that are hanging or loose, you don’t want those flapping around while its rotating on a rotisserie. Pat dry with a paper towel. Set your chicken so the breasts are up, take all of your rings off and place someplace safe, you can wear tight gloves if you want but I go without.

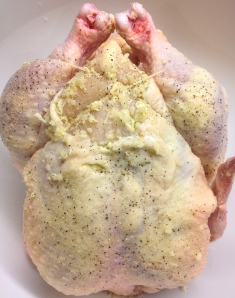
In a small bowl, add room temp butter and 1/2 a tablespoon of each seasoning. Mix well with a hand blender and use this to rub inside of the skin of your chicken. The way to do this most effectively is to loosen the skin first. Use one hand to hold the chicken in place, and the other to push your fingers under the skin, pulling it away from the meat.

Use your fingers to scoop some of the butter mixture into the “opening” and the skin to scrape mixture off of your fingers. On top of the skin, massage the butter mixture around so that it gets around inside. Do this on both breasts, and drumsticks.

IMG_0764

Make SURE to Truss your chicken!!!!

Use the rest of the seasoning to rub the outside of your bird, after you’ve tied it up. For my showtime grill, I make sure to put the stakes through the meat, not just the cavity or your chicken will flop around inside. My rotisserie calls for 15min per pound – 1.5hrs later, this baby was done.

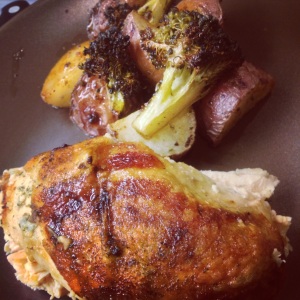
I roasted some red potatoes and broccoli in the oven, 350 for 1 hour, to have on the side! Very filling and healthy! The meat was probably the most moist chicken Ive ever made at home. I would definitely recommend a rotisserie to anyone. You can cook almost ANYTHING in it! Fish, chicken, turkey, chops, steaks, kabobs, roasts, etc etc!

Thanks Nana, this was one of the best gifts Ive ever received.

I will use it for forever and think of you…
♥♥♥♥

IMG_0781